There is a lot to do in the weeks leading up to selling your home. The more you plan now, the easier selling your home will become. That’s why we created this detailed pre-listing plan for how to sell your house. The goal is to provide an easy and effective process to get your property in ideal condition to sell your house for top dollar and with minimal time or stress.
The following things to do before selling your home will help set you up for a highly successful transaction and a positive experience throughout the process. You’ll also get a feel for what it’s like to have a full-service real estate team like Sidorova Inwood to represent you and advocate for your best interests.
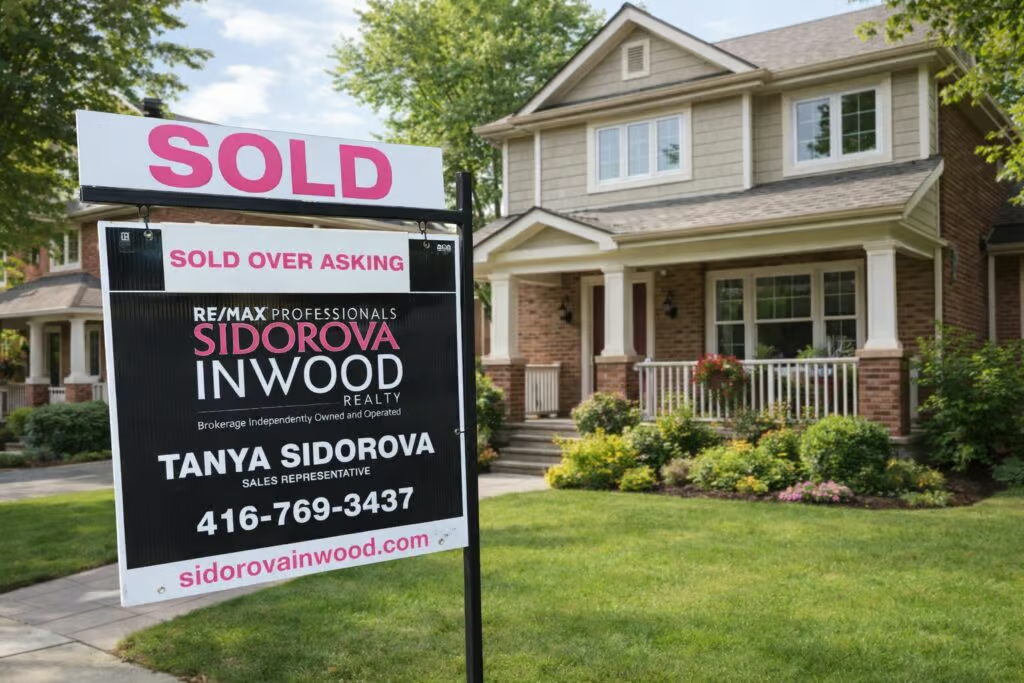
Do you want inside access to the latest in West Toronto real estate? If so, consider becoming a Sidorova Inwood insider. You’ll also get early access to our newest listings.
Step One: Talk to Your Realtor®
Choosing an experienced real estate team is the first step toward an optimal selling experience. This expert guidance allows you to create a fully customized plan to get your home ready for buyers, one that works in the current market.
Our team is happy to sit down with a face-to-face consultation or video chat to help you clarify your goals and finetune your strategy. You’ll get to know how we work, what marketing we provide, and the team of professionals who are available to work with you.
We’ll also review the benefits of choosing local real estate experts who live and work in your neighbourhood. This meeting lasts approximately an hour. Once we’re done, you’ll be armed with new ideas on how to make an immediate impact in the market today.
Do you need help choosing your real estate agent? The posts below will give you an idea of what to look for and what to avoid:
- Our Guide to Finding a Toronto Listing Agent
- Warning Signs a Toronto Real Estate Agent is the Wrong One to Sell Your Home
Step Two: Book a Home Evaluation
A successful outcome depends on accurate information, especially when setting a compelling price that resonates with potential buyers. You don’t want to undervalue your property, but setting your price too high can cause people to bypass your listing.
You can ensure you get it right the first time by booking a complimentary home evaluation. From here, we can start putting together a comprehensive marketing plan that is tailored to your home selling goals.
Step Three: Sign a Listing Agreement
Once you feel comfortable and we’ve answered all of your questions, we’ll sign a Listing Agreement. This legal document formalizes our agreement and outlines all of your rights as a client. It also gives us permission to start marketing your property, which is when the fun begins!
Step Four: Spruce Up Your Home
The next step in getting your house ready to sell starts with our home inspector, who will conduct a pre-listing inspection to see if there are any minor repairs that can help you get better results. It’s also time to start de-cluttering and touching up your home, anything to make potential buyers do a double take once they step inside.
It could mean a few minor repairs and painting or touch-ups. In some cases, a more substantial home improvement project might be worthwhile. Our experts will guide you through all upgrades that stand to add value to your home while avoiding anything that is unlikely to show enough of a return on your investment.
This may sound like the hard part, but it doesn’t have to be. We have the best professional team of home stagers, lawyers, mortgage brokers, home inspectors, cleaners, painters, and much more – and they’re all at your service when you work with us.
Wondering where to start in getting your home ready? Start with the posts below:
- What Every Seller Should Know About Home Inspections
- 5 Landscaping Tips For Home Sellers
- Home Renovations That Add Lasting Value
Step Five: Arrange for Photos and Videos
Most home buyers today start searching for a new home online, which means high quality images are more important than ever. Before listing, our team will arrange for professional photography for the outside of your home.
We’ll also discuss and finalize your pricing so that it’s aligned with the current market. Our comprehensive marketing strategy will include various online and offline channels, all fully customized to generate the most exposure for your listing.
Soon, the home stager will come for a complimentary meeting and complete a room-by-room analysis of what needs to be staged and decorated and what furniture needs to be added or replaced.
Step Six: Create Immersive Floor Plans
Before your listing goes live, we will complete all floor plans with room-by-room dimensions. Interactive and immersive tours show buyers what to expect and entices them to book an in-person visit.
We will have a walk through and a final room-by-room analysis with inclusions and exclusions listed. You’ll provide us with a survey, all legal documents, tax number, and keys to your home.
Planning to sell your home this year? Read on to learn even more about how to navigate the changing market:
- Is West Toronto Real Estate Still Valuable?
- What Buyers and Sellers Should Know About Bank Appraisals
- Why Negotiating Skills Matter in West Toronto Real Estate
Step Seven: The Final Touches
There are quite a few final touches before your home hits the market. Fortunately, you’ve performed all recommended tasks and tips for selling your home, which will lead to a more straightforward process from this point on.
It’s time for one more thorough cleaning. With this fresh slate in place, the stager will come back to actually stage and decorate your home. When your house looks meticulous, our photographer and videographers will take interior photos and videos of your home. They’ll also highlight any neighbourhood amenities that make your house even more irresistible to buyers.
If necessary, the home inspector will come for the second time to update the report. Finally, you’ll install a lockbox so your agent can showcase your property. Soon, interested buyers will be excited to take a tour of what may become their new home!
Do you want a high level of service and a customized plan to sell your home? Our West Toronto real estate agents are happy to help. Reach out today at 416-769-3437, email info@sidorovainwood.com, or fill out the form below with any questions
Want to check off step 1?
"*" indicates required fields